In this case ware are going to print a label designed in Microsoft Word to two Zebra ZD220 203dpi label printers simultaneously. We will learn how to creata a custom paper size in Windows, how to configure Print&Share and test the whole output. The Zebra printers are controlled via the ZDesigner Driver.
Creating a custom paper size in Windows
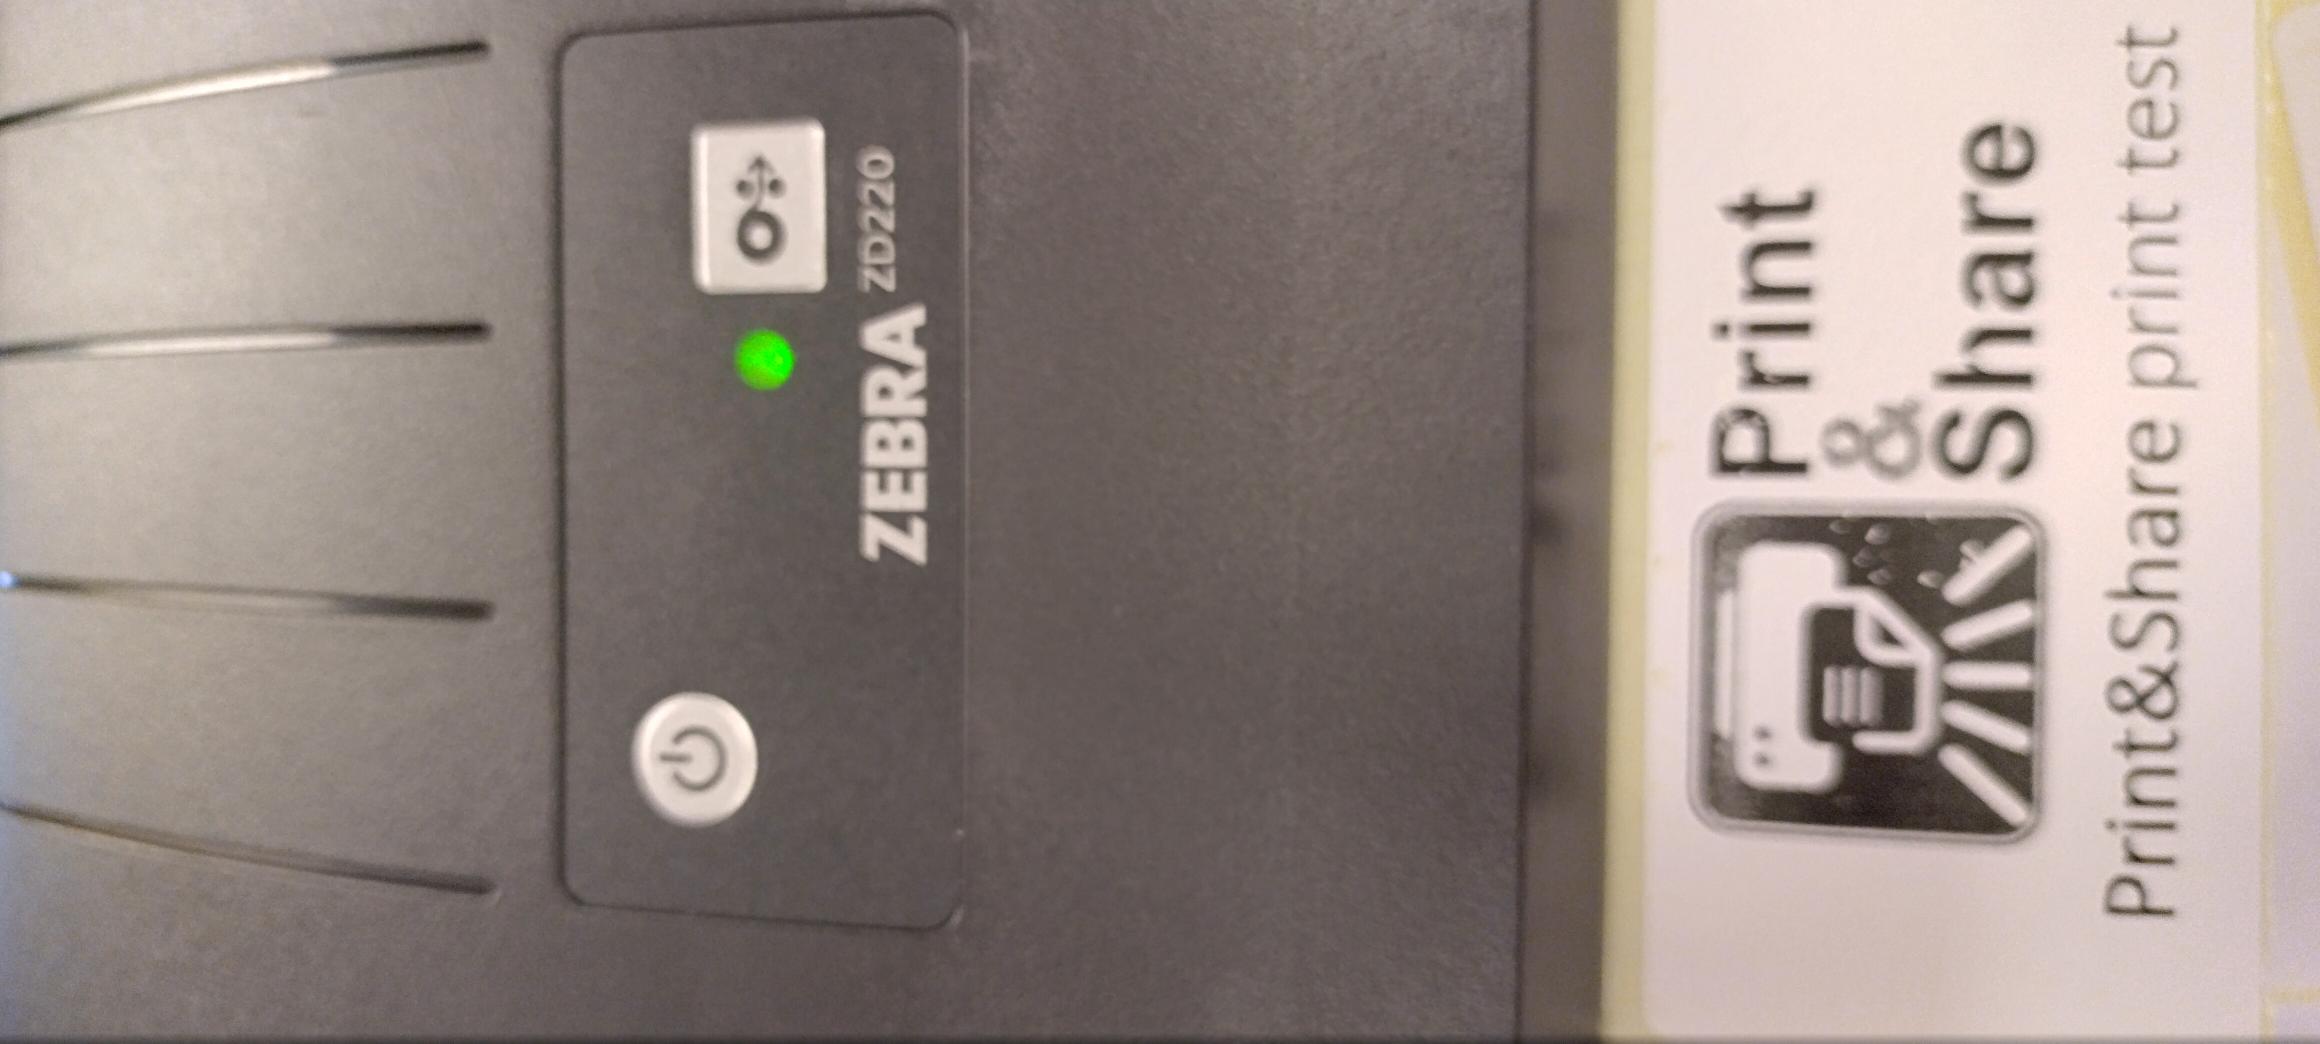
Our Zebra ZD220 has paper labels loaded with the following paper size:
Width: 10,40cm and height: 5,05cm.
Follow the steps in this article to create a custom paper size.
Print&Share profile configuration
We are using Print&Share v3.1 (at the time or writing), we will not focus on Print&Share CQ.
- Create a new profile and call it
Print to two Zebra printers. - Add two channels, each with print functionality.
- Click on Configure to open Channel configuration.
- Go to the channel configuration of the first channel. This could also be reached by clicking the printer icon of the first channel when the profile is active.
- Select your first Zebra label printer from the dropdown.
- Go to the channel configuration of the second channel. This could also be reached by clicking the printer icon of the second channel when the profile is active.
- Select your second Zebra label printer from the dropdown.
- Close the dialogs by clicking the OK buttons.
(If needed you can read this article on how to print to two printers. )
Configure Microsoft Word with your custom paper size
Here we will change the paper size of our Word Document. The first reason is that it matches the Zebra label printer. The second reason is that Print&Share otherwise will receive a print job in A4 or Letter size, resulting in incorrect content scaling.
We assume you've already created your custom paper size. In case you've added your custom paper size while Word was open, you have to first close and open Word again to see the new paper size.
- Open Microsoft Word.
- Navigate to Layout.
- Under Page Setup select Size and scroll down till you see your custom paper size (
Zebra ZD220 label). - Optionally: Change the margins (
Layout > Page Setup > Margins).
That's it, you can now design your content in Word.
Testing
- Open your Word document.
- Print the document (CTRL+P) and select
Print&Shareas printer. - You should now see Print&Share opening with your profile called
print to two Zebra printers.
(If this is not the case, you might have set another default profile.) - In Print&Share click the Send & Close button at the bottom.
- Your two Zebra label printers should now start printing!
In Print&Share you can also set the profile as default with the option Auto Send & Close to automatically forward the content to the printers without user intervention.