Help, I'm unable to send emails!
Microsoft has announced to permanently disable Basic Auth in all tenants in Exchange Online on October 1st, 2022.
Basic authentication means that the application you are using sends a username and password with every request. (These credentials are often stored or saved on the device).
This method is outdated and unsecure.
Therefor Microsoft permanently disabled Basic Auth as of October 1st, 2022.
Configure Modern Authentication in Azure AD
The idea is that you register an App in Azure Active Directory and that you give this App sufficient permissions. You are allowing an App to access certain APIs. In this case API permissions to access Exchange allowing us to email.
After you registered your *App you will have an ID to identify your app and some other settings. It are these settings that are required in your application and which will be used to check if you are allowed to email.
Prerequisites:
- Access to the Microsoft Azure portal for your tenant.
- An account with sufficient permissions to modify settings within your tenant (Global Administrator privileges).
Azure Configuration
Open a webbrowser and navigate to Microsoft Azure portal.
Login.
(If you have multiple tenants select the correct tentant by clicking your account in the upper-right corner and select Switch directory).Go to App registrations (Search for
App registrations).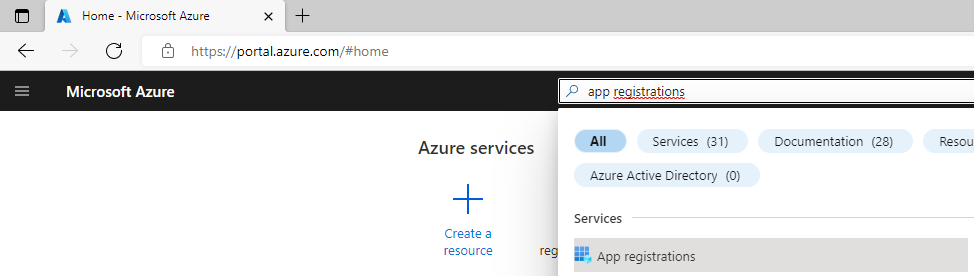
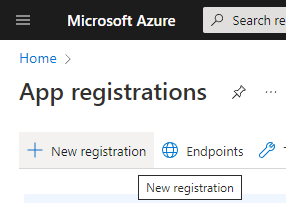
Register a new application by clicking New registration.
On the Register an application, use these settings:
5.a. In the Name input enter
Winking PrintandShare(orWinking <application name>). 5.b. Supported account types selectAccounts in this organization directory only ({tenant name} only - Single tenant)/Single tenant only. 5.c. Click Register button at the bottom.
The application has been created and theWinking PrintandShare(orWinking <application name>) overview page appears.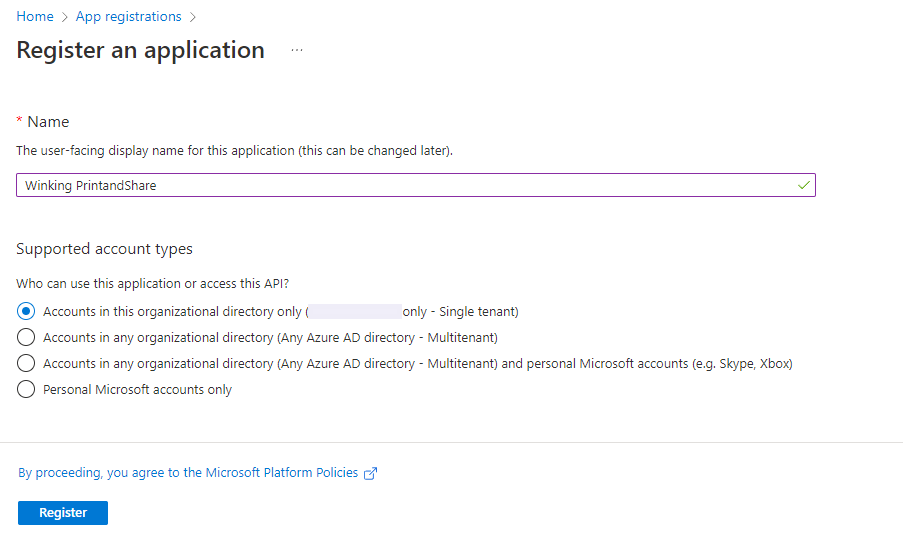
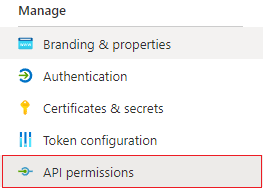
Go to Manage > API permissions in the menu on the left side and add the following permissions:

Note: for sending emails only
Mail.Sendpermission should be required, but we show a range of permissions here in case the application needs to have access and update the Outlook calendar, contacts, ....
6.a. Click Add a permission > Microsoft APIs > Microsoft Graph > Delegated permissions > search and select User.Read > click Add permissions.
Note: be careful to select Delegated permissions and not Application permissions here.
6.b. Click Add a permission > Microsoft APIs > Microsoft Graph > Application permissions > search and select
Mail.Send,
Mail.Read,
Mail.ReadBasic,
Mail.ReadBasic.All,
Mail.ReadWrite,
MailboxSettings.Read,
MailboxSettings.ReadWrite,
Calendars.Read,
Calendars.ReadWrite,
Contacts.Read,
Contacts.ReadWrite
> then click Add permissions.
Note: be careful to select Application permissions and not Delegated permissions here.
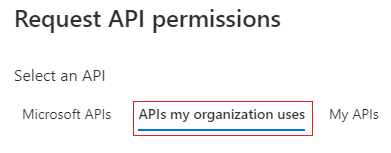
6.c. Click Add a permission > APIs my organization uses > select Office 365 Exchange Online > Application permissions > Other permissions > full_access_as_app > click Add permissions.
7. You will now see your Configured permissions, they might differ from the ones you have added. If you created the app and you are an Office 365 administrator click Grant admin consent for {tenant}.
(Located in the API permissions overview).
If you cannot Grant admin consent ask your administrator to do this.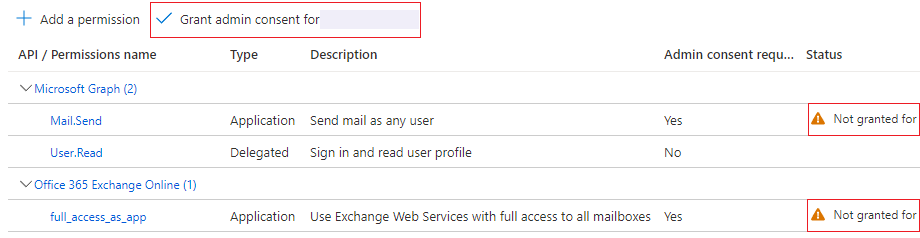


(Depending on your configuration and security you might need to add additional API permissions.)
8. (optionally) In Microsoft Azure go to Enterprise applications (or search for Enterprise applications).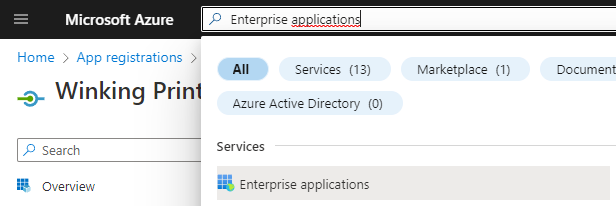
8.a. Select the Winking PrintandShare app that you created.
8.b. Navigate to Properties in the menu on the left side.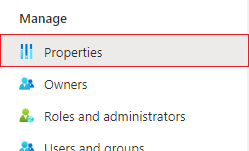
8.c. You can optionally set Visible to users to Yes.
9. Either you choose to work with a Client secret (see 9.1) or you work with a Authority (see: 9.2). Depending on what you choose, follow the described steps below:
9.1. using Client Secret (recommended)
Go back to App registrations in Azure and select Winking PrintandShare app. This will take you to the overview page. From the menu on the left side select Certificates & secrets.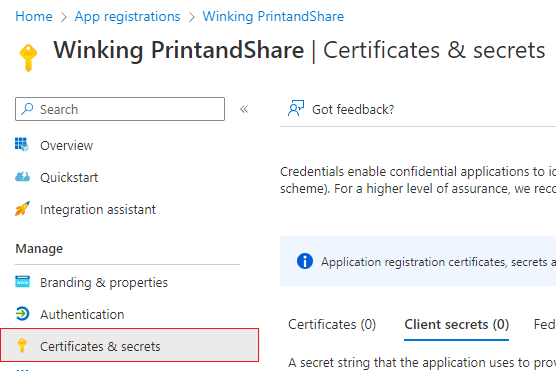
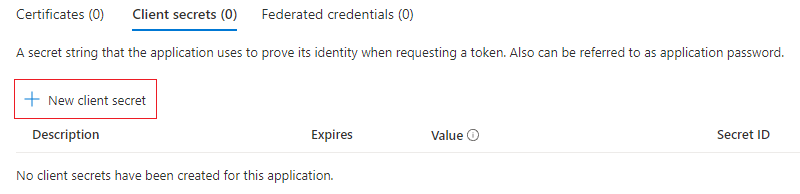
- Go to Certificates & secrets in the menu on the left.
- Click New client secret.
- Fill in a description
Winking Print&Share app secret.
Set the expires to24 months.
Click Add at the bottom.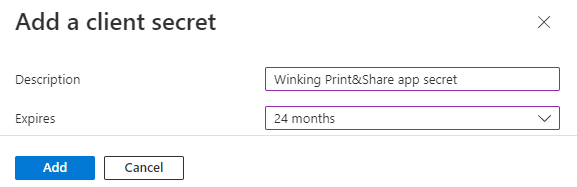
- WRITE DOWN THE SECRET VALUE. This value will not be visible after a while and if you leave the page you will never be able to see this value! Make sure you write it down when you see it!
- Tip: In your agenda, set a reminder after 23 months that you must renew the client secret before it expires and update your software with the new client secret.
- (optionally) You can limit application permissions by applying an application policy in Exchange Online. This way you can limit the number of email accounts that this registered Azure application can access/use.
9.2. using Authority (not recommended, prefer 9.1 Client secret)
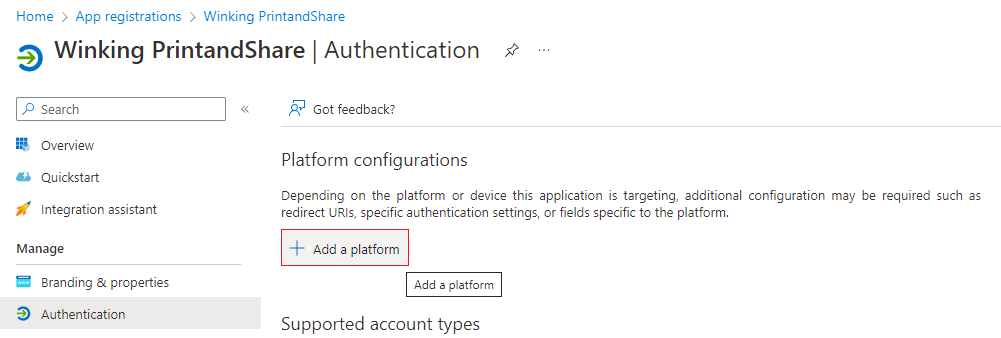
Go back to App registrations in Azure and select your Winking PrintandShare app. This will take you to the overview page. From the menu on the left side select Authentication.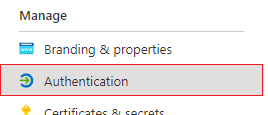
- Under Platform configurations click Add a platform.
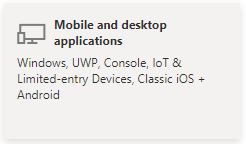
- Select Mobile and desktop applications (Windows, UWP, Console, IoT & Limited-entry Devices, Classic iOS + Android).
- Now you will see the Redirect URIs.
Choose an URI:https://login.microsoftonline.com/common/oauth2/nativeclientor use a Custom redirect URI with your preferred value.
Save by clicking the Configure button at the bottom.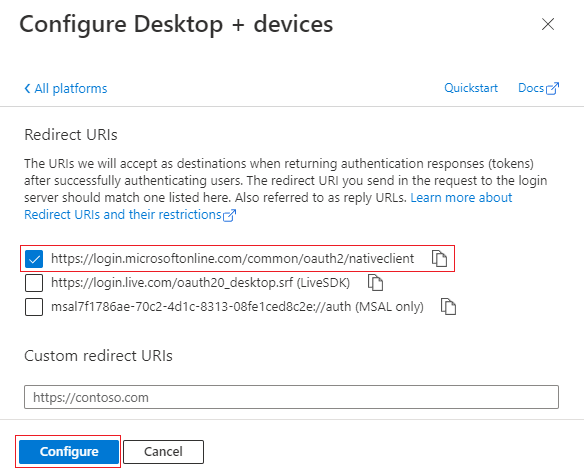
(If you later on need a specific redirect URI, you can add it here. For example:https://login.microsoftonline.com/common/oauth2/mycompany.be)
Collecting the required data
Go to the App registrations section in the Microsoft Azure portal.
Click on the app that you've created (e.g.
Winking PrintandShare).In the menu on the left make sure menu item Overview is selected.
Write down the value next to the label Application (client) ID:, this is our Client ID.
Write down the value next to the label Directory (tenant) ID:, this is our Tentant ID.
Depending the method you are using
AuthorityorClient Secretfollow the steps to collect the required data.6.1. Authority:
- In the Overview page of the
Winking PrintandShareapp you will see a link/button called Endpoints. When clicking this link/button a dialog will appear.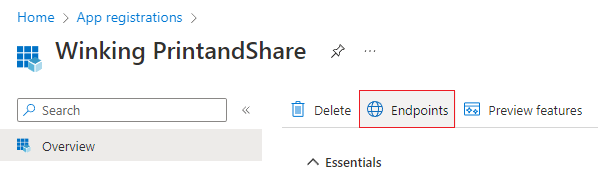
- In the Endpoints dialog write down the value of OAuth 2.0 authorization endpoint. This is something like
https://login.microsoftonline.com/<YOUR_TENANT_ID>/oauth2/authorize. This value will be used for your Authority URI.
6.2. Client Secret:
- You should have already made notes of the client secret when you created it and when it was visible to you. If you have forgotten this, you will never be able to retrieve this value. If this happens and it is not in use: delete the current client secret and create a new one described in the steps above. Don't forget to write down the value of the client secret when you see it after generating it.
- In the Overview page of the
I'm using Print&Share DL
Update the default email settings in Print&Share DL. These default settings are being used when creating new email channels.
Update default settings:
- Start Print&Share DL
- Open General Configuration.
- Navigate to Email tabpage.
- Click on Transport settings.
- Select Transportation method:
Microsoft Exchange/Office 365.
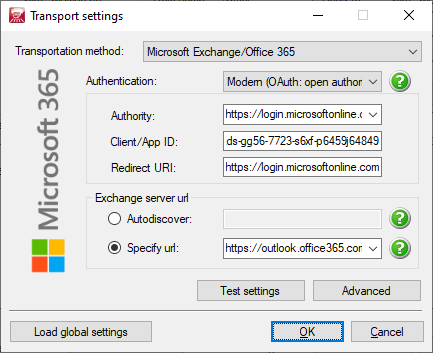
For Modern (OAuth: open authority):
- Authority: fill in the value you got from Endpoints.
For example:https://login.microsoftonline.com/<YOUR_TENANT_ID>/oauth2/authorize - Client id: fill in the value of Application (client) ID you wrote down in the earlier steps.
- Redirect URI: fill in
https://login.microsoftonline.com/common/oauth2/nativeclient.
(If that doesn't work try:https://login.microsoftonline.com/common/oauth2/contoso.com. Be sure to replacecontoso.comwith your valid linked domain)
In case you receive this error code:AADSTS900023: Specified tenant identifier 'authorize' is neither a valid DNS name, nor a valid external domain.
Try to replace authorize with your domain used in Azure, in case it is contoso.com then the authority url you could try could be: https://login.microsoftonline.com/<YOUR_TENANT_ID>/oauth2/contoso.com
Example:
Authority: https://login.microsoftonline.com/6s4d8zed-sz12-4655-g9pf-j6433f642254/oauth2/mycompany.be
Client id: 5h6g8zds-gg56-7723-s6xf-p6459j64849
Redirect URI: https://login.microsoftonline.com/common/oauth2/nativeclient
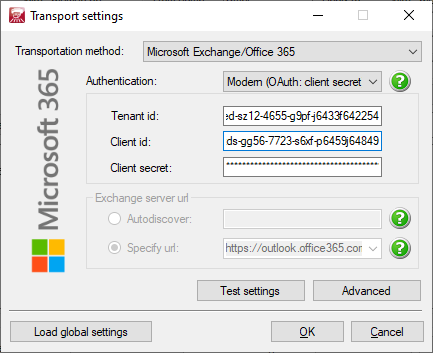
For Modern (OAuth: client secret):
- Tenant id: fill in the value of Directory (tenant) ID you wrote down in the earlier steps.
- Client id: fill in the value of Application (client) ID you wrote down in the earlier steps.
- Client secret: fill in the value of the Secret you wrote down in the earlier steps.
Example:
Tenant id: 6s4d8zed-sz12-4655-g9pf-j6433f642254
Client id: 5h6g8zds-gg56-7723-s6xf-p6459j64849
Client secret: 6545456-ssd5-445......
Update your profile(s):
- Start Print&Share click Change (upper-right corner of the main window) to open the Profiles dialog.
- In the Profiles dialog, select a profile and click Edit.
- Select the
Email-channel from the Channels: list and click Configure.
Alternately you can navigate to the Channel configuration tabpage and select the tabpage of your Email channel. - Click on Transport settings.
- Click Load global settings to use the settings from the defaults in General Configuration.
I'm using File Processor
- Open or create a File Processor channel.
- Go to Input or Output (depending on where you want to use and configure email).
- Select for Input or Output Type: Email and specific type MS Exchange.
- Login method choose
Modern (OAuth: client secret). - From e-mail:
<your email> - Tenant id: fill in the value of Directory (tenant) ID you wrote down in the earlier steps.
- Client id: fill in the value of Application (client) ID you wrote down in the earlier steps.
- Client secret: fill in the value of the Secret you wrote down in the earlier steps.
See also
- Exchange Online (EXO) limiting application permissions docs.winking.be
- Improving Security - Together techcommunity.microsoft.com
- Basic Authentication and Exchange Online – September 2021 Update techcommunity.microsoft.com
- Connect to Exchange Online PowerShell learn.microsoft.com
- Install and maintain the Exchange Online PowerShell module learn.microsoft.com