"How do we automatically print invoices to our multifunctional device and picking lists to our regular printer when they are being dropped in a folder?"
In this document we will explain how to configure the File Processor channel to handle only a specific type of documents. By creating multiple channels, you can process as many types as you would like, each with their own settings.
Example situation:
- Invoices: (Invoice-x74578.pdf, Invoice-a11351.pdf, ...) print to Printer 1, colour, Tray 2.
- Picking Lists: Invoices (PL-x74578.pdf, PL-a11351.pdf, ...) print to Printer 2, black&white.
Configuration for Invoices
1. Add a channel
Create a new channel by going to [Options], [File Processors] and click [New] to create a new channel. Give the channel a name, for example: "Print invoices".
2. Schedule
Set to "Detect files automatically", or any other schedule type that you prefer.
3. Input
Set the Input to [Local/Network] to monitor a folder. Specify the folder that you want to monitor.
4. Filter
The filter is the core of our file or print job routing. Here we will tell the channel to look only for specific filenames that we accept.
- Click the [Add] button to add a filter.
- Choose a [Property] filter and click [Add].
- In the newly added line, select [File name], [Match Regex]. This allows us the specify a regular expression (simply called "Regex").
- In the Regex input field type in:
Invoice[-].*[.]pdf. This will accept everything that starts with Invoice- and ends with .pdf.
When you would like to process also files starting with INVOICE- or invoice- you can use this regex, which is case in-sensitive: (?i)Invoice[-].*[.]pdf.
Via the built-in regular expression tester, you can see if your regex is working correctly:
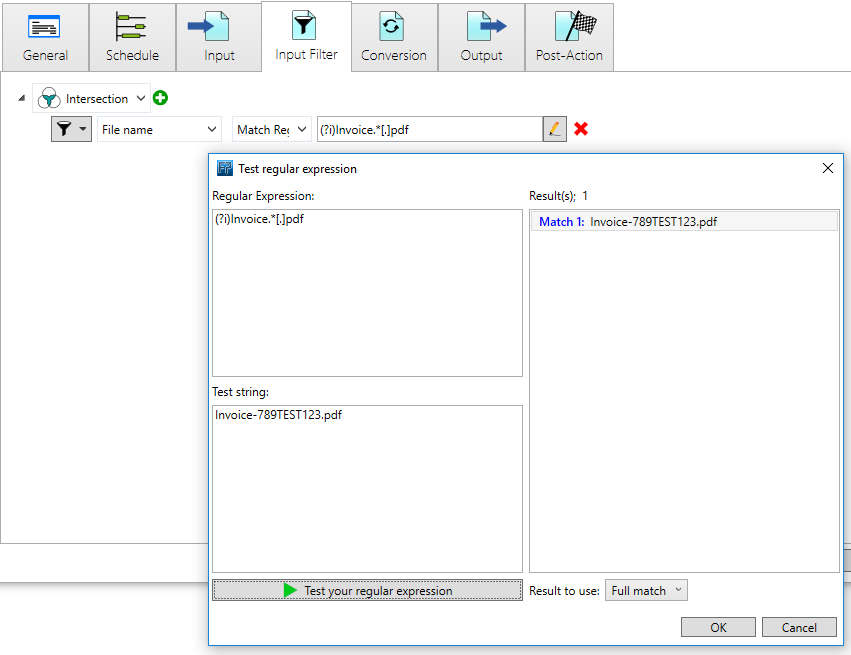
If you are not familiar with regular expressions, there are many resources on the internet. Regular expressions can be hard to understand at the first moment, but once you have learned the basics, you will find out how powerful they are. In case you have questions or need help, send an email to our support via the contact page on our website.
4. Output
For the output we would like to print. Select [Print] as output.
- Select the printer to print your invoices, for example "Printer 1".
- Enable Color option.
- Specify Paper source "Tray 2" to print the invoices from this specific paper tray.
Configuration for Picking Lists
1. Add a channel
Create a new channel and call it "Print picking lists". Follow the same steps as you did for invoices.
2. Input
Set the Input to [Local/Network] to monitor a folder. Specify the folder that you want to monitor, this is most likely the same folder you used in the Invoice-channel.
3. Filter
Instead of matching files starting with Invoice-, we need to match files, starting with PL- and ending with .pdf.
Add a Property filter using regular expressions similar to what we did for Invoices and use this regex: (?i)PL[-].*[.]pdf
4. Output
Select a different printer, on which you would like to print the picking lists. Configure it to print in black&white.
Test
Drop some files in the folder that you monitor and if all is configured correctly, you should see that invoices and picking lists are being printed on different printers.