In this example we will explain how to you can setup your own private mobile printing hotspot. This will allow your employees or customers to print documents from almost any mobile device.
To demonstrate several options we will configure the File Processor in such a way that only emails from a specific domain are accepted. Additionally we'll configure that users need to confirm their print job in order to release it. Only email attachments will be printed in this configuration.
These are the mobile printing requirements in order to setup the configuration:
- A mailbox to monitor
- A printer to release the print jobs
1. Create a new channel
Create a new File Processor channel and give it a name in the [General] tab page:

If you have never used the File Processor, and connect for the first time, there will be no File Processor channels.
2. Schedule
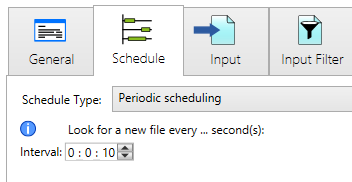
We will look for new emails every 10 seconds by selecting the [Periodic scheduling]. It is often recommended to increase the interval in order not to overload the server.
Note: When using commercial email providers like @outlook.com, @hotmail.com or @gmail.com you should never set the interval to less than 10 minutes (restrictions).
3. Input
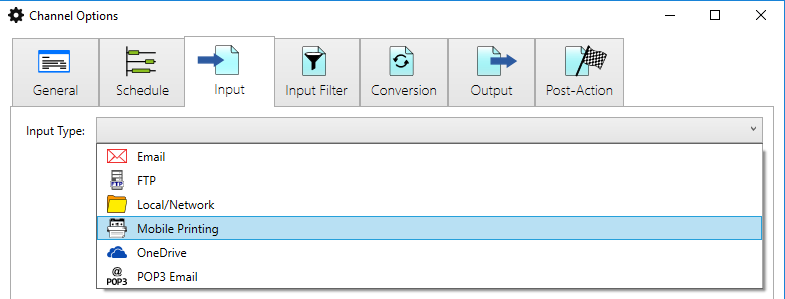
For the [Input] we will select the [Mobile Printing] option.
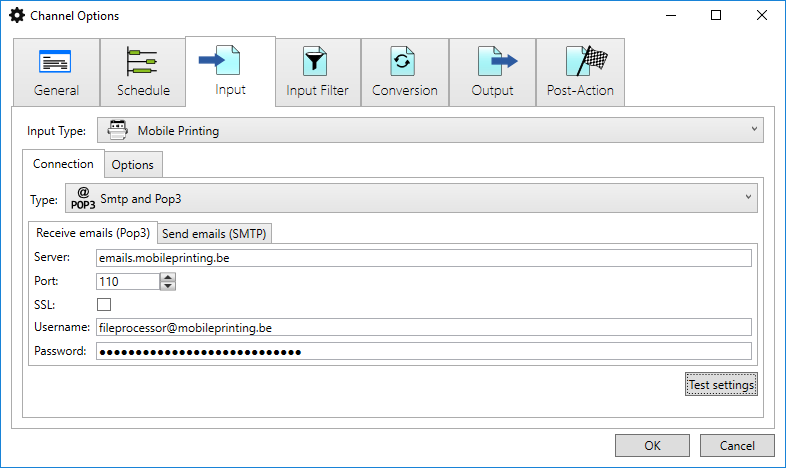
In this example we will read a POP3 mailbox for simplicity. You can use your Microsoft Exchange server accounts or read the default mailbox directly from Outlook when the Outlook software is installed.
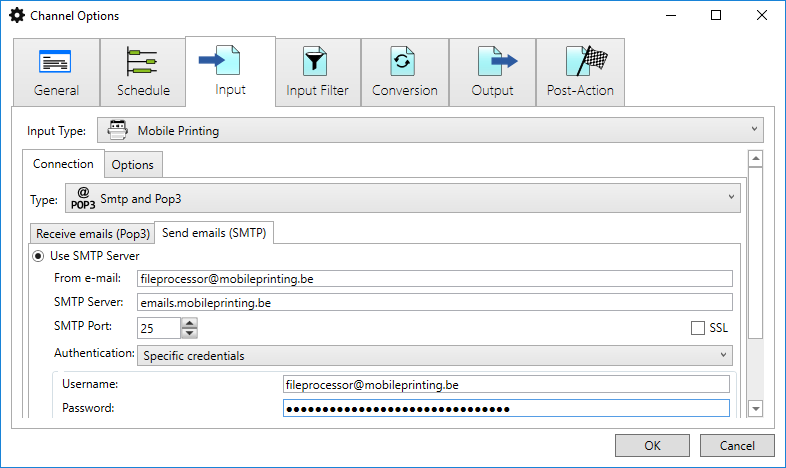
Select for [Type:] the [Smtp and Pop3] option and fill in the POP3 connections settings to receive emails. In our example this looks like this:
Select the options for SMTP to send emails and fill in the settings from your ISP or own server. In our case the options look like this:
4. Input options
In a previous step we have configured the connection settings. Now we will change some default settings.
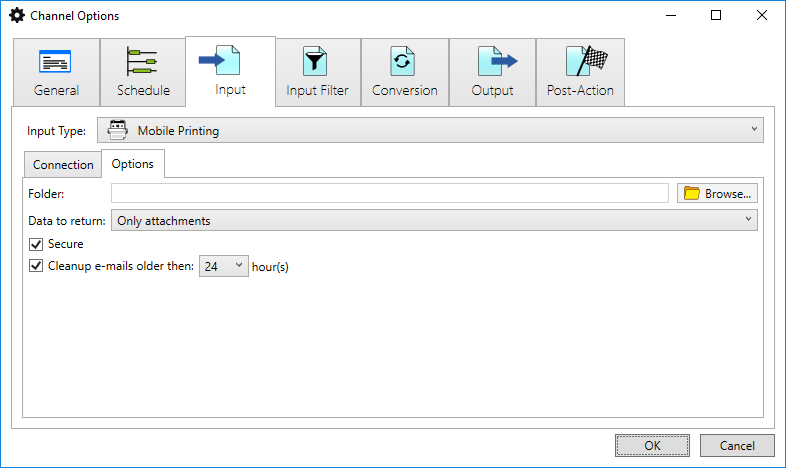
We will only allow to print attachments. In order to achieve this select the option [Only attachments] next to the [Data to return:] label.
Select the [Secure] option and also select the [Cleanup e-mails] and set it to 24 hour(s).
The mobile printing options should look like this now:
5. Input Filter
Leave the input filter empty if you want to accept every email. In our case we only want to accept emails from a specific domain. In this example we only allow emails from domain @winking.be.
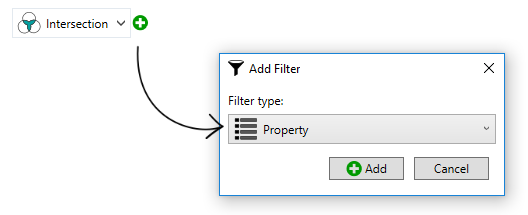
Add a filter part by clicking the [+] sign and select the [Property] filter option:
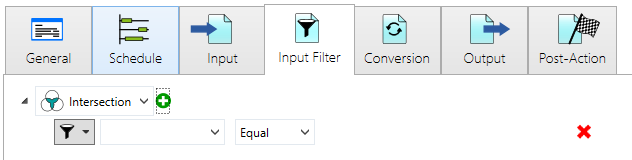
After adding the [Property] filter your [Input Filter] should now look like this:
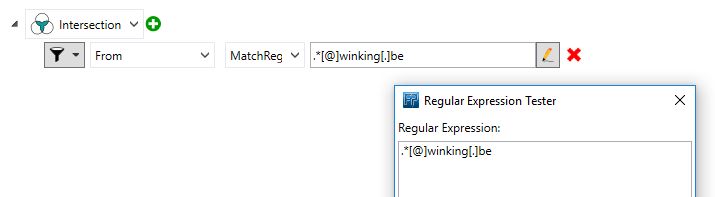
Now let us configure the [Property]. Select option [From] and at the second combobox select [MatchRegex] so that we can define a regular expression to match the domain:

By clicking the pencil-icon to open the editor we can define our regular expression to filter out the domain.
We will use this regular expression:
.*[@]winking[.]be
6. Converter
Leave the converter empty. We don't need this in this example.
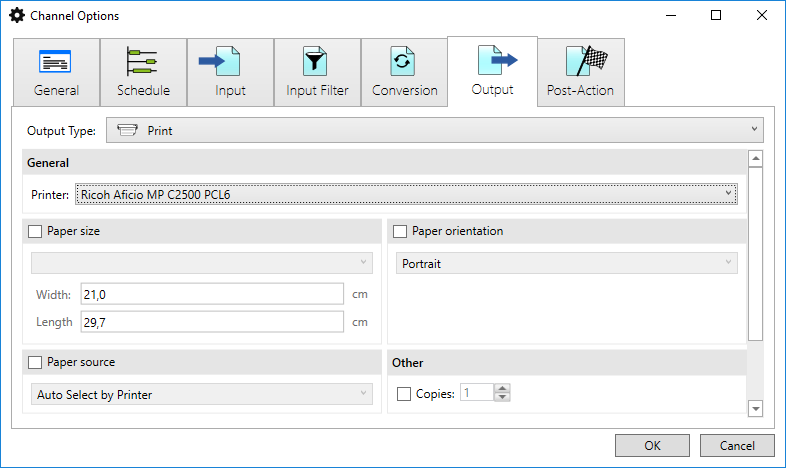
7. Output
Select for the [Output Type:] the [Print] option and define your printer that will be used.
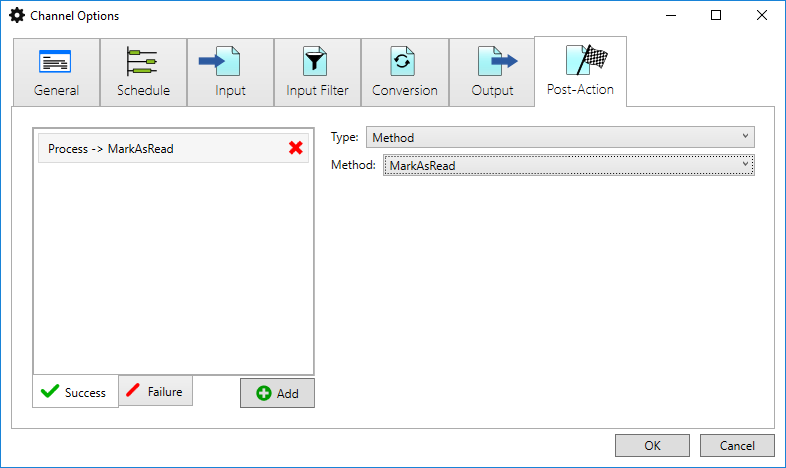
8. Post-Action
In the Post-Action we define what happens with our original input (the email) after the process (printing) has completed. In our case we will mark the original email as Read.
Note: we need to have at least one Post-Action on success, e.g. to delete the email or mark it as read. Otherwise you'll end up processing the same emails over and over again.
(You can also add Post-Actions in case of a failure.)
9. Testing
You have configured your channel for secure mobile printing.
Let's test what we've configured!
- Make sure you are connected to the service
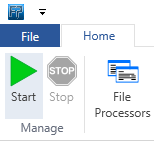
- Click [Start] to start the monitoring process. Each (enabled) configured channel will now monitor for files or emails according to its defined schedule.
- Send an email with an attachment to the configured mailbox (In our case this was fileprocessor@mobileprinting.be).
Remember that we've added a filter to only allow emails from a specific domain. Make sure the email was sent from the domain you defined in the input filter. (In our case this was @winking.be). - If everything went fine, you received an email with a print ticket from the File Processor because the [Secure] option was enabled.
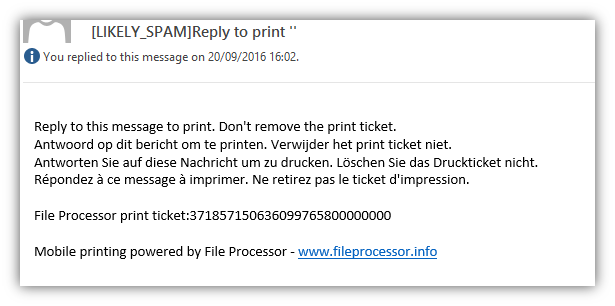
Now you only need to send an (empty) reply on that email you received to release your print job!
The File Processor will verify the print ticket and release your print job.
(In case the [Secure] option was not enabled, you will not receive an email and your files were automatically printed.)
If all is fine, you should see that the documents you've attached in the email are being printed!
You've just configured your own mobile printing solution!
10. Extra
If you want to print to two different printers you could for example create two mailboxes: printer1@myemail.com and printer2@myemail.com. In the File Processor you create two channels (one for every mailbox) and define a different printer for the output.
This could also be a useful configuration when having two locations, like: floor1@mycompany.com and floor2@mycompany.com.
Allowing guests or visitors to print out documents to a specific printer is now just a matter of configuring a mobile printing channel.