Date/Time settings in lists
General
Print&Share CQ contains a lot of grids to display data. Many columns contain date and/or time information.
To uniform the displayed data in a specific date/time format for the location where Print&Share CQ service is being used, you can specify a date/time format.
This means when viewing or exporting data, you all have the same display format of the date/timestamps. Making it easier to track down a specific event in logs or overviews.
Configuration
Navigate to Print&Share CQ > Manage > System Setup > System.
There you have an option “Default date/time format in lists:”
A possible value could be:
dd.MM.yyyy HH:mm:ss '(UTC'zzz')'
This shows the local time and the UTC offset.
For example:
11.09.2026 09:54:36 (UTC +02:00)
Explanation for this example:
| Format specifier | Description |
|---|---|
| dd | The day of the month, from 01 to 31 |
| MM | The month, from 01 to 12 |
| yyyy | The year as four-digit number |
| HH | The hour, using a 24-hour click from 0 to 23 |
| mm | The minute, from 00 to 59 |
| ss | The second, from 00 to 59 |
| zzz | Hours and minutes offset from UTC |
Info
The date/time format follows the Microsoft .net / C# date and time formatting string rules.
Learn more at: https://learn.microsoft.com/en-us/dotnet/standard/base-types/custom-date-and-time-format-strings
Date/Time settings in recognitions
General
When configuring Print&Share CQ and creating profiles, you will undoubtedly encounter data recognition tasks.
For instance, recognizing data and displaying it as text on documents using the Get More Editor is a frequent part of the configuration process.
You might also want to format date and time information differently.
Just as with date/time settings for lists, you can often specify a format and transform the data; the same string syntax applies here.
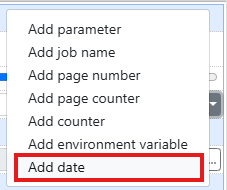
Configuration: Adding a date parameter
Formatting a date when adding a date parameter:
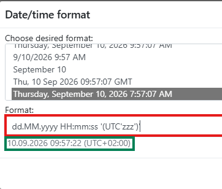
Configuration: Adding a recognition parameter
Formatting a date when adding a recognition parameter.
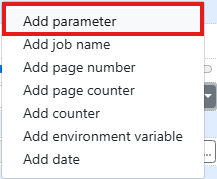
After configuring a recognition (General-tab) you can select the Extra Options-tab and add a Format adjuster:
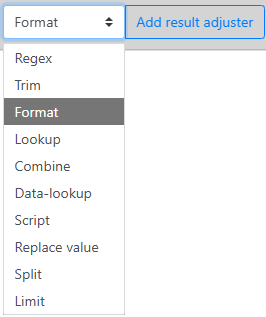
Select Date-Time for Input data type and specify the Output format:
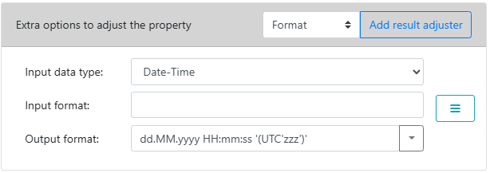
When you know that the recognized value you need to transform or format is always for example “year day month” you can specify the Input format: to tell the adjuster in which string the input data is given.