With Print&Share CQ it is possible to store documents directly in DocuWare Cloud. Not only is it possible to store documents in the DMS, you can also retreive documents stored in DocuWare cloud and insert them into your existing print jobs or document workflows.
For example your company's Terms&Conditions are stored centrally as a PDF document in DocuWare Cloud. Every print fetches the T&S from DocuWare, and ensures you are using the latest version and Print&Share CQ prints them on the back of your documents or adds them to your emails. (Think further: overlays in a central location, documentation, ...)
What about printing invoices and store everything you print simultaneously in your DocuWare archive. You can even add dynamic index fields based on the content of your document.
The only thing you have to do use fill in the connection settings from DocuWare cloud in the file destination and you are ready to go.
DocuWare Cloud as file destination
- Open the Print&Share CQ portal, select a profile and go to/create a File channel in your profile.
- For the File destination: change from Local file to DocuWare. This can be done by clicking the icon.
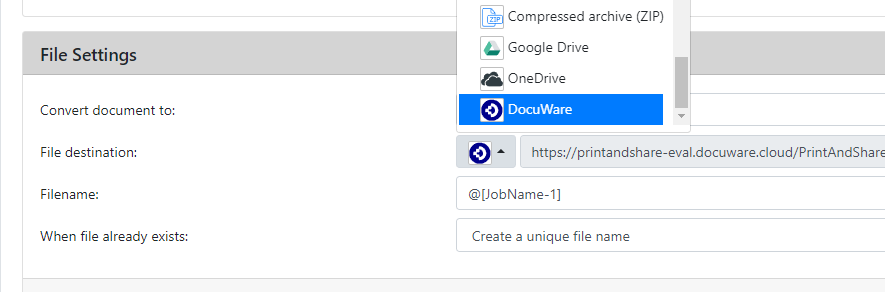
- Click the edit button
...to configure the connection. - In the Connection-tab, for Server: fill in your settings, e.g.
https://printandshare.docuware.cloud/DocuWare/Platform
Port:443
Authentication type: chooseDocuware.
Fill in your DocuWare Username and **Password.
- If your connection settings are valid, you can go to the Cabinet and index fields-tab.
Here you choose your Organization: and Cabinet: where to store your files.
Index fields:
Optionally you can define one or multiple Index fields.
- Click Add.
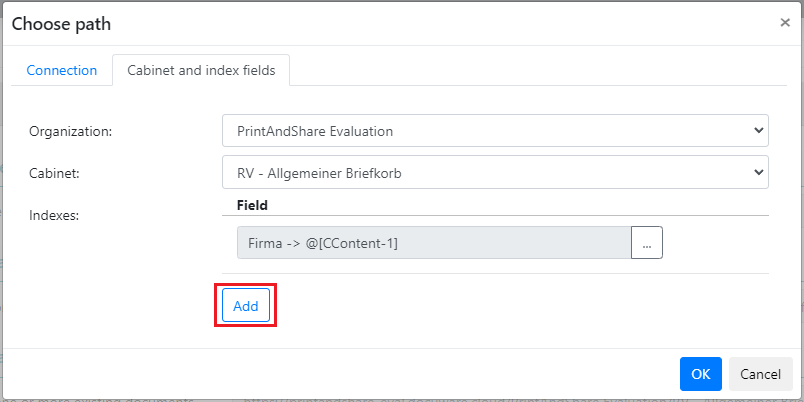
- In the Docuware index field dialog choose the specific field you want to use (e.g. Firma, IBAN, Source, ...). For Value type: you can fill in a Constant value or a Dynamic value.
When using a Dynamic value you just configure a recognition as you would do with any other recognition in Print&Share CQ.
In our example we will use the DocuWareFirmafield and select the metadata value from the content of our document by using a label-recognition: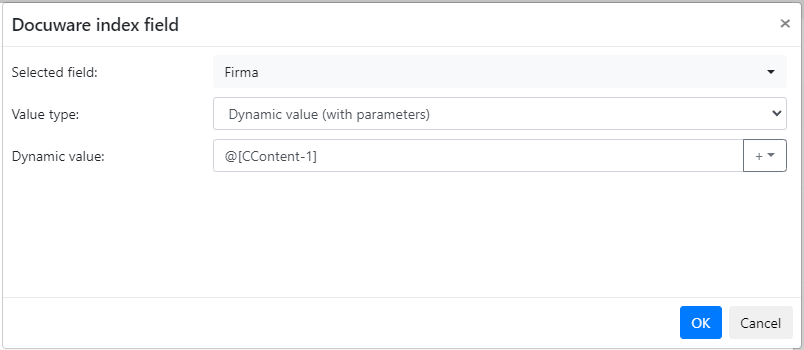
- Click Add parameter to add a parameter recogntion.
(if you already have a recogntion, double click@[CContent-]to edit it.)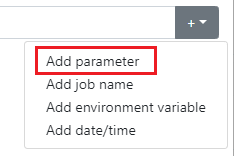
- Configure your recogntion. Here we search for the label
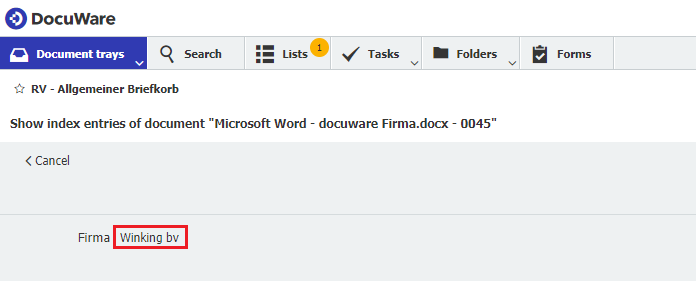
Firma:and use the found value as the result for the metadata index field in DocuWare.

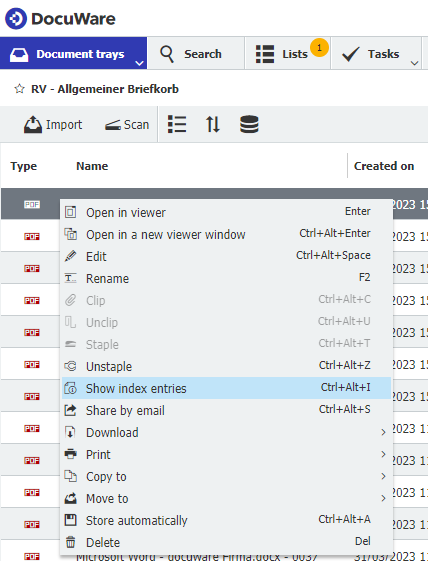
In DocuWare you can verify the index fields that Print&Share CQ generated by right clicking your file and selecting Show index entries: